Just type in how many hours you want to drive, and it shows you a map of how far you could get. That’s it. No logins, no planning spreadsheets, no long debates about “where to go” — just a radius and your imagination.
Built this in under an hour because I was thinking about summer roadtrips and wanted something simple to help brainstorm. Hope you find it useful (or at least fun to play with).
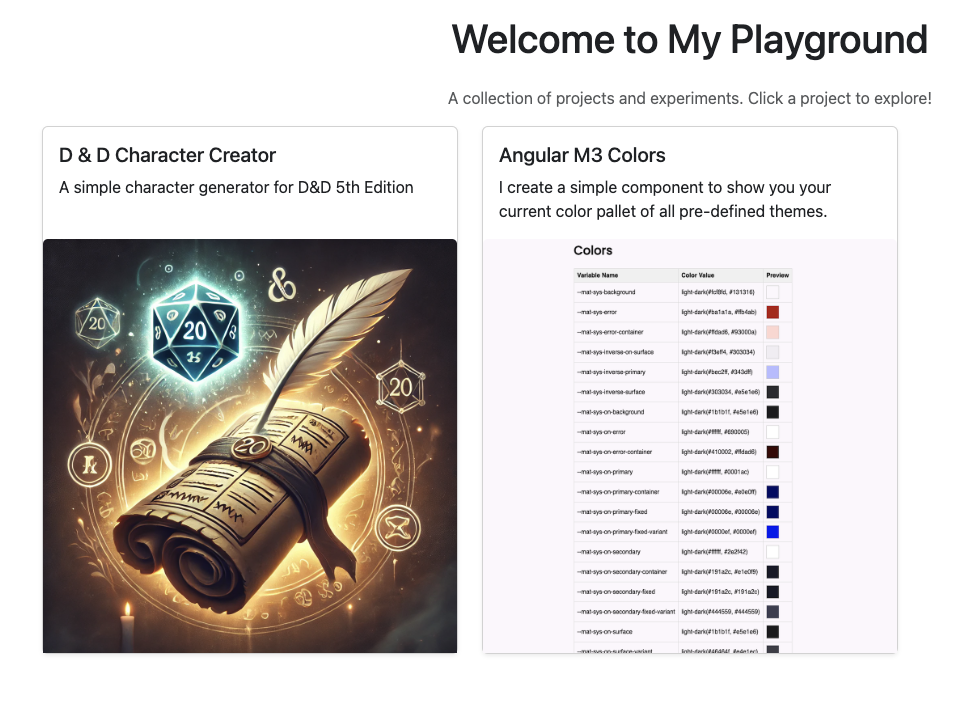
I’ve really the playground, you know the days when you could just FTP a few files to a directory and bam it was live on the internet! So I created one again called https://playground.scottpreston.com.
Right now I just a a few examples projects/experiments.
D&D Character Creator (ultra simple for my kids character sheets)
Over the years I’ve ready many business books. I thought I would spend some time talking about my favorite top 5.
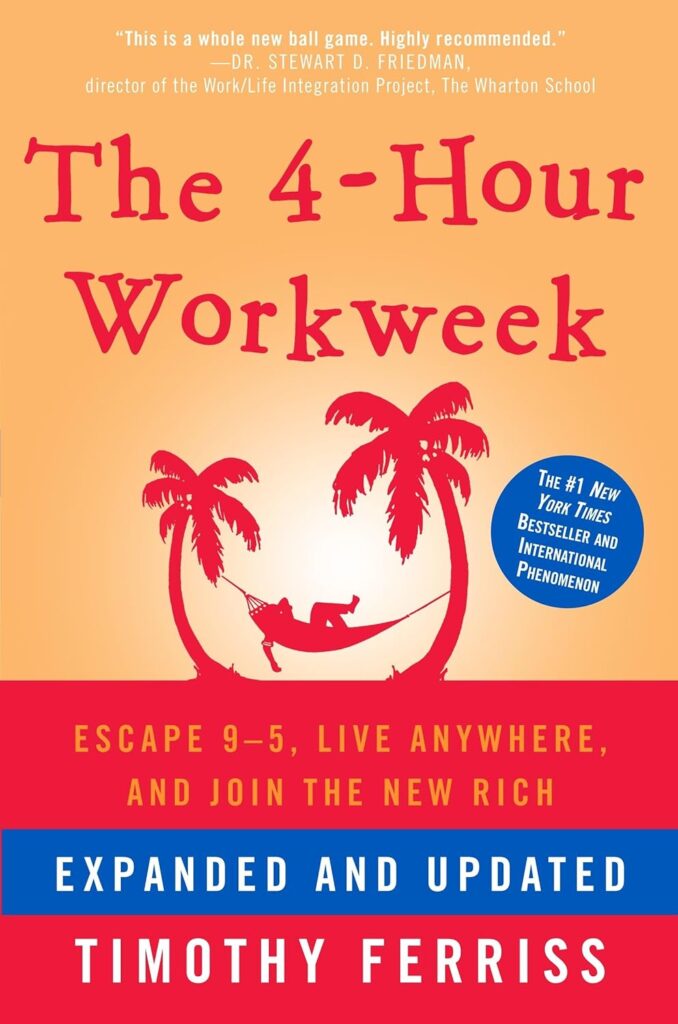
The 4-Hour Workweek by Timothy Ferriss is a self-help book that challenges traditional work and retirement paradigms. It provides a blueprint for achieving a lifestyle of freedom and flexibility by adopting the principles of automation, outsourcing, and mini-retirements. The book is divided into four key sections, summarized by the acronym DEAL:
Definition: Redefine success by focusing on what truly matters—time and freedom instead of money and long work hours. Ferriss introduces the concept of the “New Rich” (NR), individuals who design their lives to maximize experiences and enjoyment.
Elimination: Cut out unnecessary tasks using the Pareto Principle (80/20 Rule) and Parkinson’s Law, which argue that most results come from a small portion of effort, and work expands to fill the time available. Focus only on high-value tasks and learn to say no.
Automation: Delegate and automate tasks to free up your time. Ferriss recommends outsourcing repetitive work to virtual assistants and leveraging tools for passive income, such as e-commerce or investments.
Liberation: Escape the constraints of the traditional office. This includes negotiating remote work, taking “mini-retirements” throughout life instead of waiting for old age, and traveling while working only a few hours a week.
The book emphasizes designing your life around your passions and leveraging systems to maximize efficiency. It advocates for bold decision-making, challenging societal norms, and focusing on living more and working less.
The key takeaway: You don’t need a fortune or a complex plan to start a successful business. By identifying your passions, creating value, and starting small, you can build a business that provides both income and independence. The book serves as a motivational guide for anyone who dreams of becoming their own boss while making a positive impact.
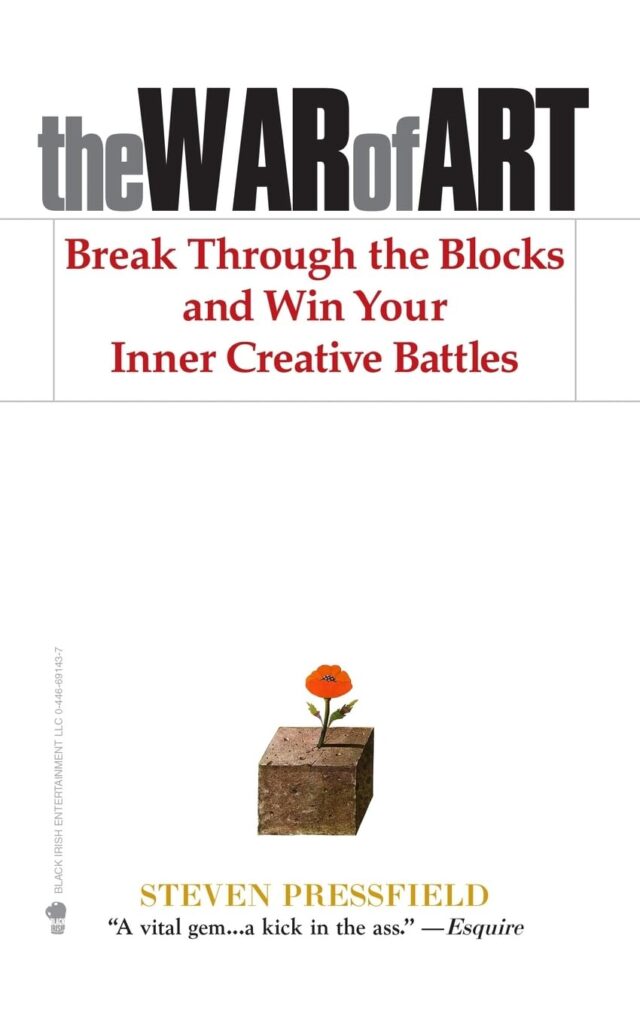
The War of Art by Steven Pressfield is a motivational guide to overcoming creative resistance and achieving your goals. The book identifies Resistance—fear, procrastination, self-doubt—as the greatest obstacle to creative and personal growth. Pressfield emphasizes that Resistance will always be present but can be defeated through discipline and persistence.
The book divides into three parts:
Resistance: Recognize and understand it as a natural force that opposes progress.
Turning Pro: Commit to your craft like a professional, showing up consistently, regardless of inspiration or mood.
Higher Realm: Embrace creativity as a spiritual practice, allowing inspiration and ideas to flow.
Key takeaway: Success requires battling Resistance daily with focus, discipline, and faith in the creative process.
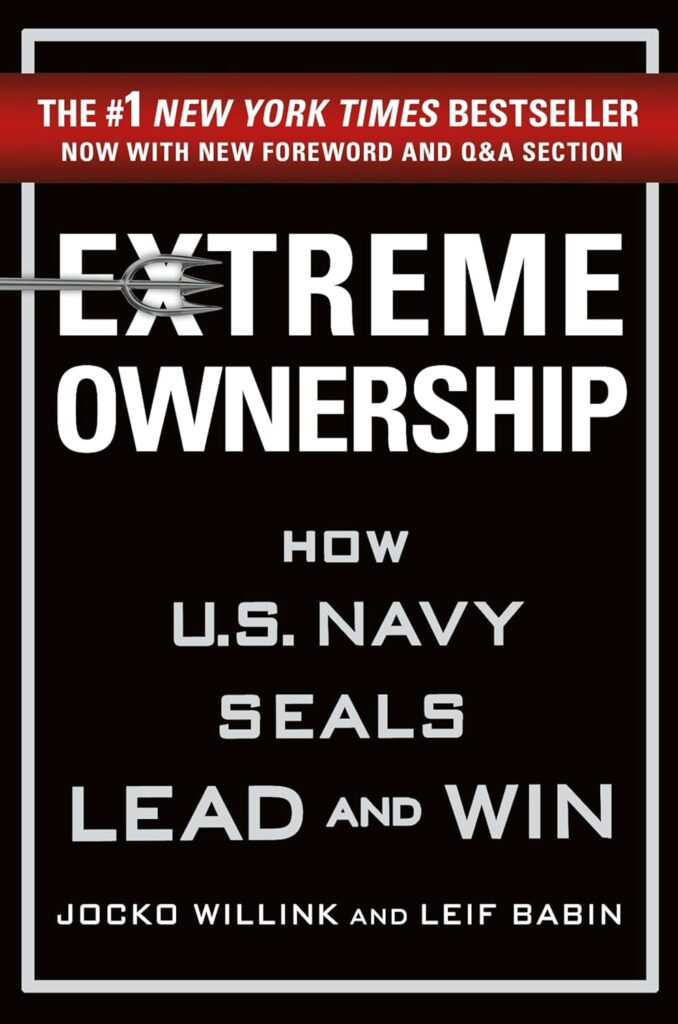
Extreme Ownership by Jocko Willink and Leif Babin is a leadership guide based on lessons learned during their time as Navy SEALs. The book emphasizes that leaders must take full responsibility for everything in their sphere of influence, regardless of external factors. This mindset of “extreme ownership” fosters accountability and drives success.
Key principles include:
Own Everything: Take responsibility for outcomes without blaming others.
Simplify and Prioritize: Break down complex problems and focus on the most critical tasks.
Decentralized Command: Empower teams by trusting them to make decisions within clear boundaries.
Discipline Equals Freedom: Maintain structure and consistency to achieve goals.
Key takeaway: Leadership is about accountability, clear communication, and empowering teams to succeed. Taking ownership inspires trust and drives results in any organization.
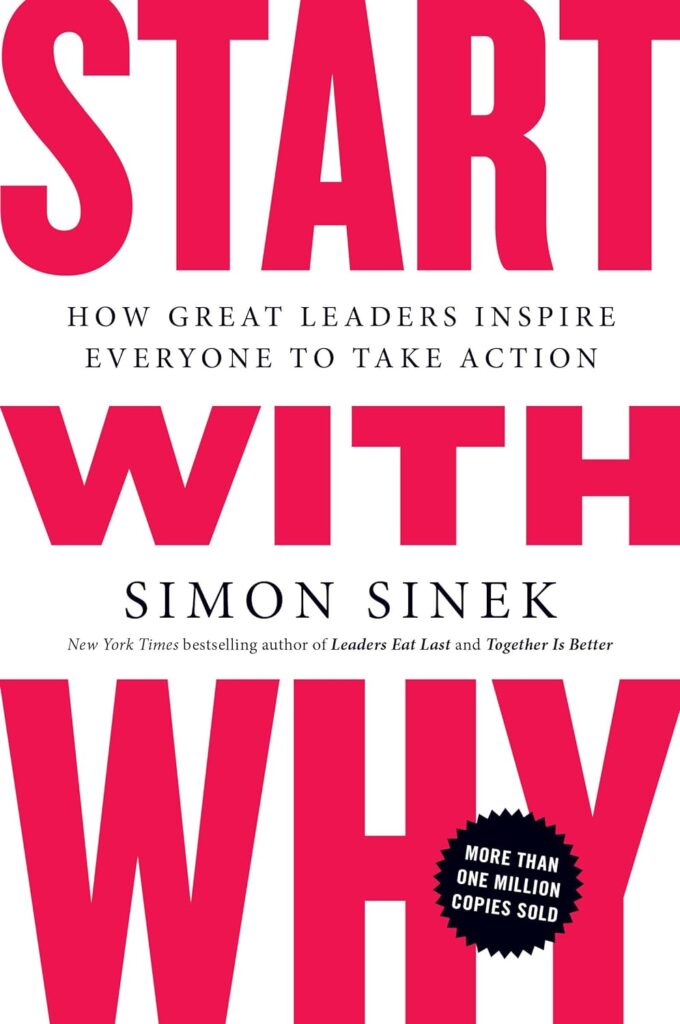
Start With Why by Simon Sinek explores the concept that great leaders and organizations inspire by focusing on their “Why”—their purpose, cause, or belief—rather than just their products or services.
The book introduces the Golden Circle framework:
Why: The core purpose or belief that drives an organization.
How: The processes or values that support the Why.
What: The tangible products or services offered.
Sinek argues that starting with Why builds trust and loyalty, creating lasting connections with customers and teams. He uses examples like Apple and Martin Luther King Jr. to show how clarity of purpose drives success.
Key takeaway: People buy into your Why, not just your What. Inspire by communicating your purpose clearly and authentically.
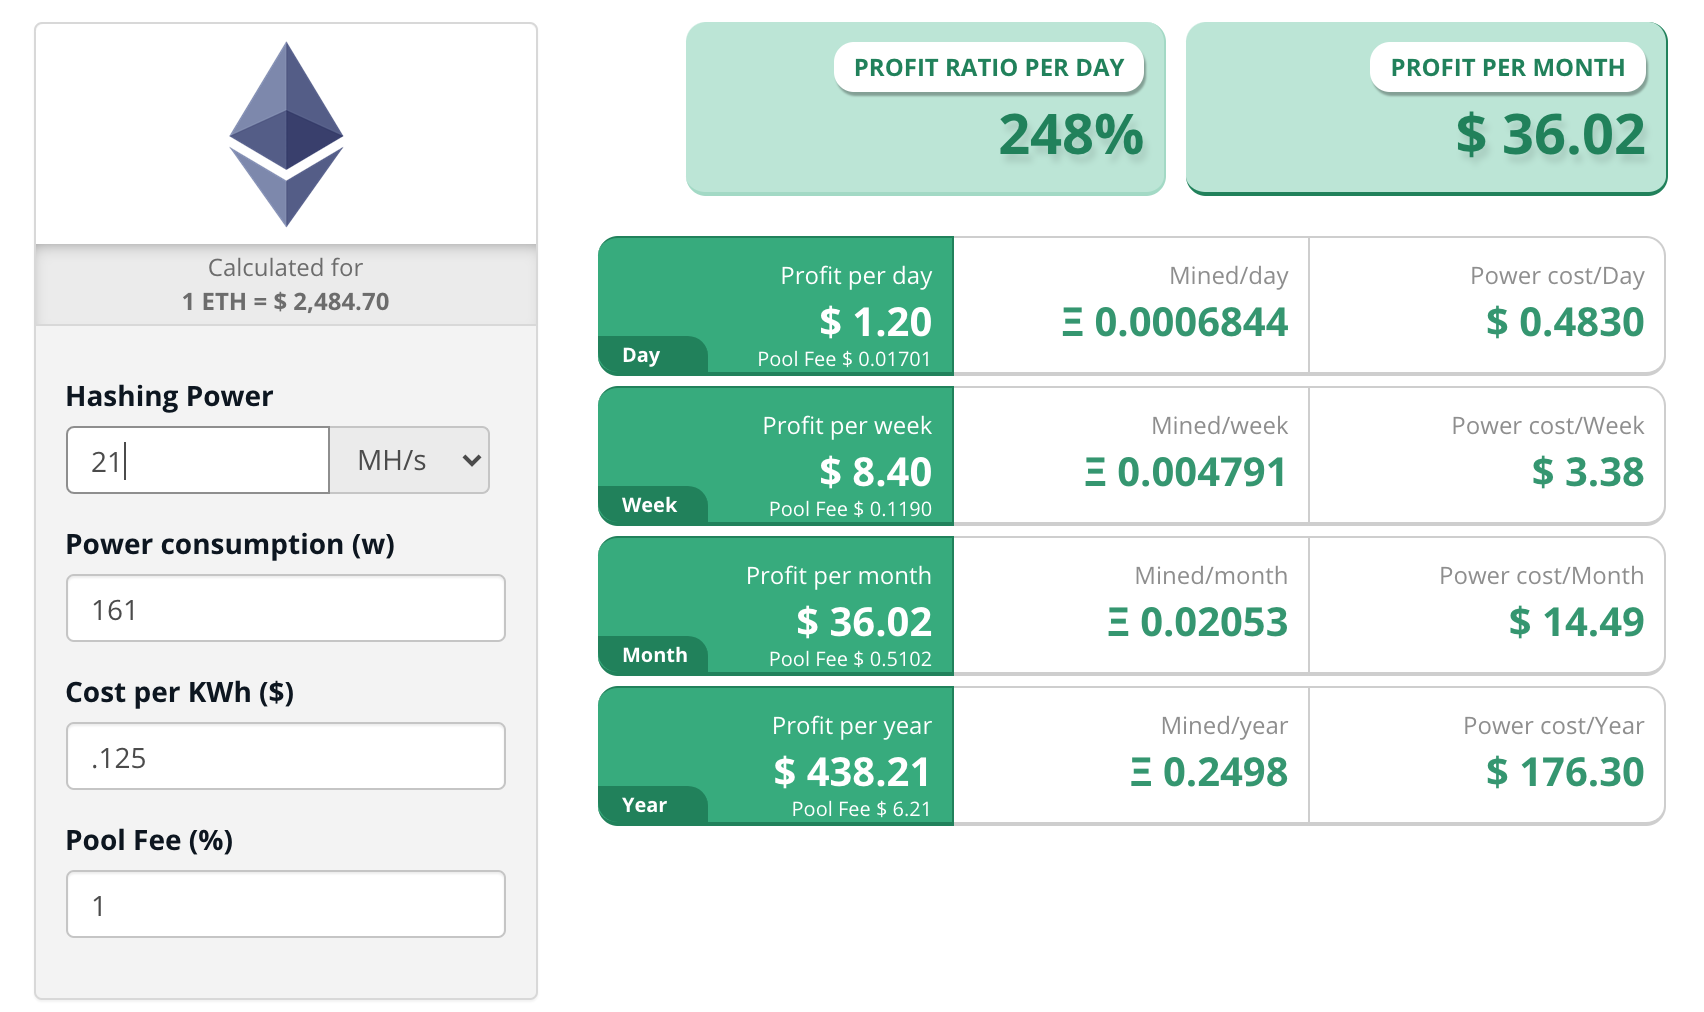
So this week-end I did an experiment with Ethereum Mining. The first thing I did was use a calculator. Here’s one from CryptoCompare.com.
CryotoCompare.com
Now according to this calculator, I should make around $36 bucks a month for my Nvidia GTX 1060 Card. Well, I did an experiment and after 28 hours I made $1.10. This comes out to about $0.04/hour or $0.94/day, but I’m actually paying $0.49 in electricity cost. So the net is $0.45/day or $13.71 per month. This makes the calculator wrong by about 263%. This link above has net profit at $1.20/day. So the hash rate was a lot lower than stated both on miner and on other estimates for this card.
The next step in setting up my network was adding additional “LANS” to my network. So while before I was happy with two networks 192168.1.1/24 and 10.10.10.1/24. I really wanted more isolation from my IoT network, Security Camera Network, my Raspberry PI and Smart-Home network and the computers and devices we use all the time.
Here’s a list of my networks:
Home Private Network
Semi-Private Network & Private WiFi
Raspberry Pi Network & WiFi
Security Camera Network & WiFi
IoT & Media Network & WiFi
Guest Network
To do this I needed a router and firewall (EdgeRouter-X) and I needed a few managed switches because I didn’t want to run new cable.
Starting with the router I set-up the following:
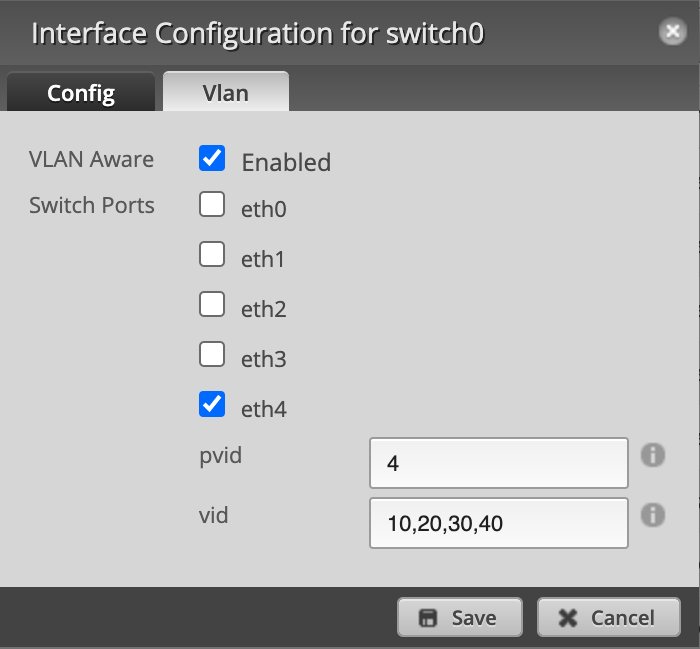
EdgeRouter-X Swtich0 Configuration
The interesting thing I needed to learn here is the PVID is a “tagged” VLAN. I made this correspond to the network 192.168.4.1/24. This means anything that connects to this port “unmanaged” will get an IP from the 192.168.4.1/24 DHCP server. But if there’s a managed switch connected to this network, it will be able to route traffic for the VLANs 10,20,30, and 40.
The second thing I needed to do was configure my managed switch. DLink DGS-1100-08V2.
Managed Switch VLAN Configuration
The tagged VLAN port here is eth1. This is tagged with VID = 4. This is the same PVID leaving the router. I have 2 untagged ports eth6 and eth7 for this VLAN. This means they will get IP addresses from the 192.168.4.1/24 DHCP server just like it was connected to eth4 from my EdgeRouter-X.
I connected my Access Point and my other managed switch to eth6 and eth7.
I have eth2 mapped to 10, so now anything connected there will get 192.168.10.1/24 addresses. I have eth3 mapped to 20, so now anything connected there will get 192.168.20.1/24 addresses. I have eth4 mapped to 30, so now anything connected there will get 192.168.30.1/24 addresses. I have eth5 mapped to 40, so now anything connected there will get 192.168.40.1/24 addresses.
Notice the PVID up on the top row as well. 4, 10, 20, 30, 40, 4, 4, 1.
The last setting was configuring my access point. This is an EnGenius EAP1300.
I’ve been having network problems of late and also because of security I wanted to better isolate my network from IoT devices from Google, Amazon, Hue, Etc.
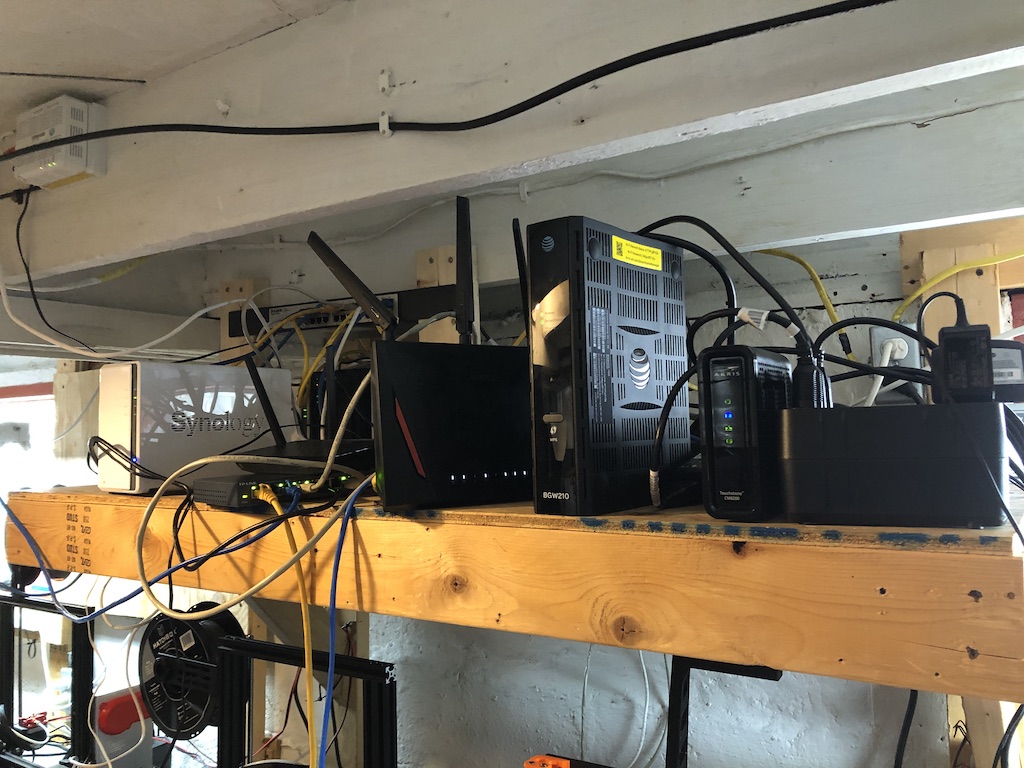
I basically had a few ASUS routers (which have been great) and I’ve been using a Double NAT (Network Address Translation) with my more secure stuff behind another router. It’s worked fine for about 15 years but I wanted more security and more isolation.
First I tried to replace my Asus RT-AC86U and its DUAL WAN capabilities with an EdgeRouter-X by Ubiquity. No luck with the DUAL WAN and multiple LANs. As soon as I unplugged one of the WANS things worked and if I only had one LAN with DUAL WANS it would have worked. In hindsight, I could have just used a managed switch on the other side but I also didn’t want to spend another $300+ on access points.
So I decided to keep my Asus network and its AI Mesh routers for IoT and Media Streaming. My new purchases included:
(2) D-Link DGS-1100-08p managed switches ($35 each Micro Center)
1 EnGenius EAP1300 Access Point ($89 Micro Center)
Total cost $224 plus tax.
With these purchases, I get a VLAN capable Router with a firewall. A few managed switches with simple stand-alone management and web interface. A VLAN capable Multi-SSID Access Point also with stand-alone management.
While this is usually a trivial task it took me about an hour to get my permissions correct to get this to work. Here are the steps that finally let me get things working:
Then go to your command line and change some file permissions.
#change {username to your login}
CHOWN the users directory to {username}:users
CHMOD user home directory to 755
CHMOD your .ssh directory to 700
CHMOD your authorized_keys file to 644
If you’re not sure about those files you will need to create and copy your public key to those directories. To do that just google “creating ssh key” then save your id_rsa.pub to the authorized key file below in .ssh/authorized_keys.
Restart your SSHD service via the web admin page (see below).
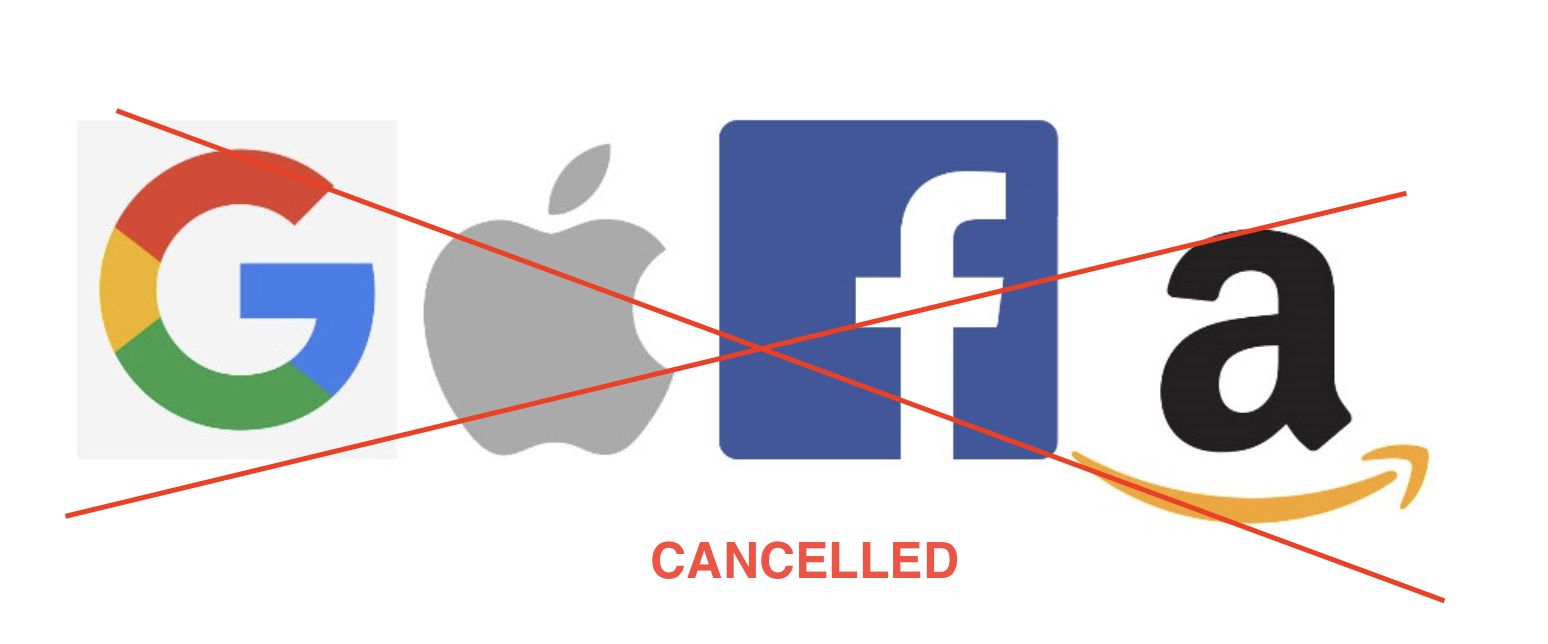
You can take my ramblings about Big Tech a number of ways but ultimately it’s about decentralization. Don’t put all all your eggs in one basket. Diversify your portfolio. Own your own path. Explore alternatives. Grow.
So if you’re a cord-cutter and want to get rid of YouTube.TV or Cable. Check this out. https://www.suppose.tv/. It will let you select your channels and show you the best options available for you to pick.
Today I canceled the following:
Apple Developer Program Renewal – My app “Thors Hammer” will go away, but I can do this via a website, if you recall I had huge problem getting this app “approved” anyway.
Amazon Music Unlimited – Might replace with Spotify.
Microsoft Game Pass – Will just buy games now.
YouTube.TV – Pending – Will substitute with Sling Blue & Maybe ESPN from Disney+ after the NCAA National Football Championship
Other Google services seem to be the easiest ones to cancel… Stay tuned for future updates.
A bunch of Echoes will now sit in this bag until which time I’m confident these recordings are not shared with Facebook, Instagram, Advertisers… I’ve had too many things happen recently mentioning a company only to see ads an hour or so later….